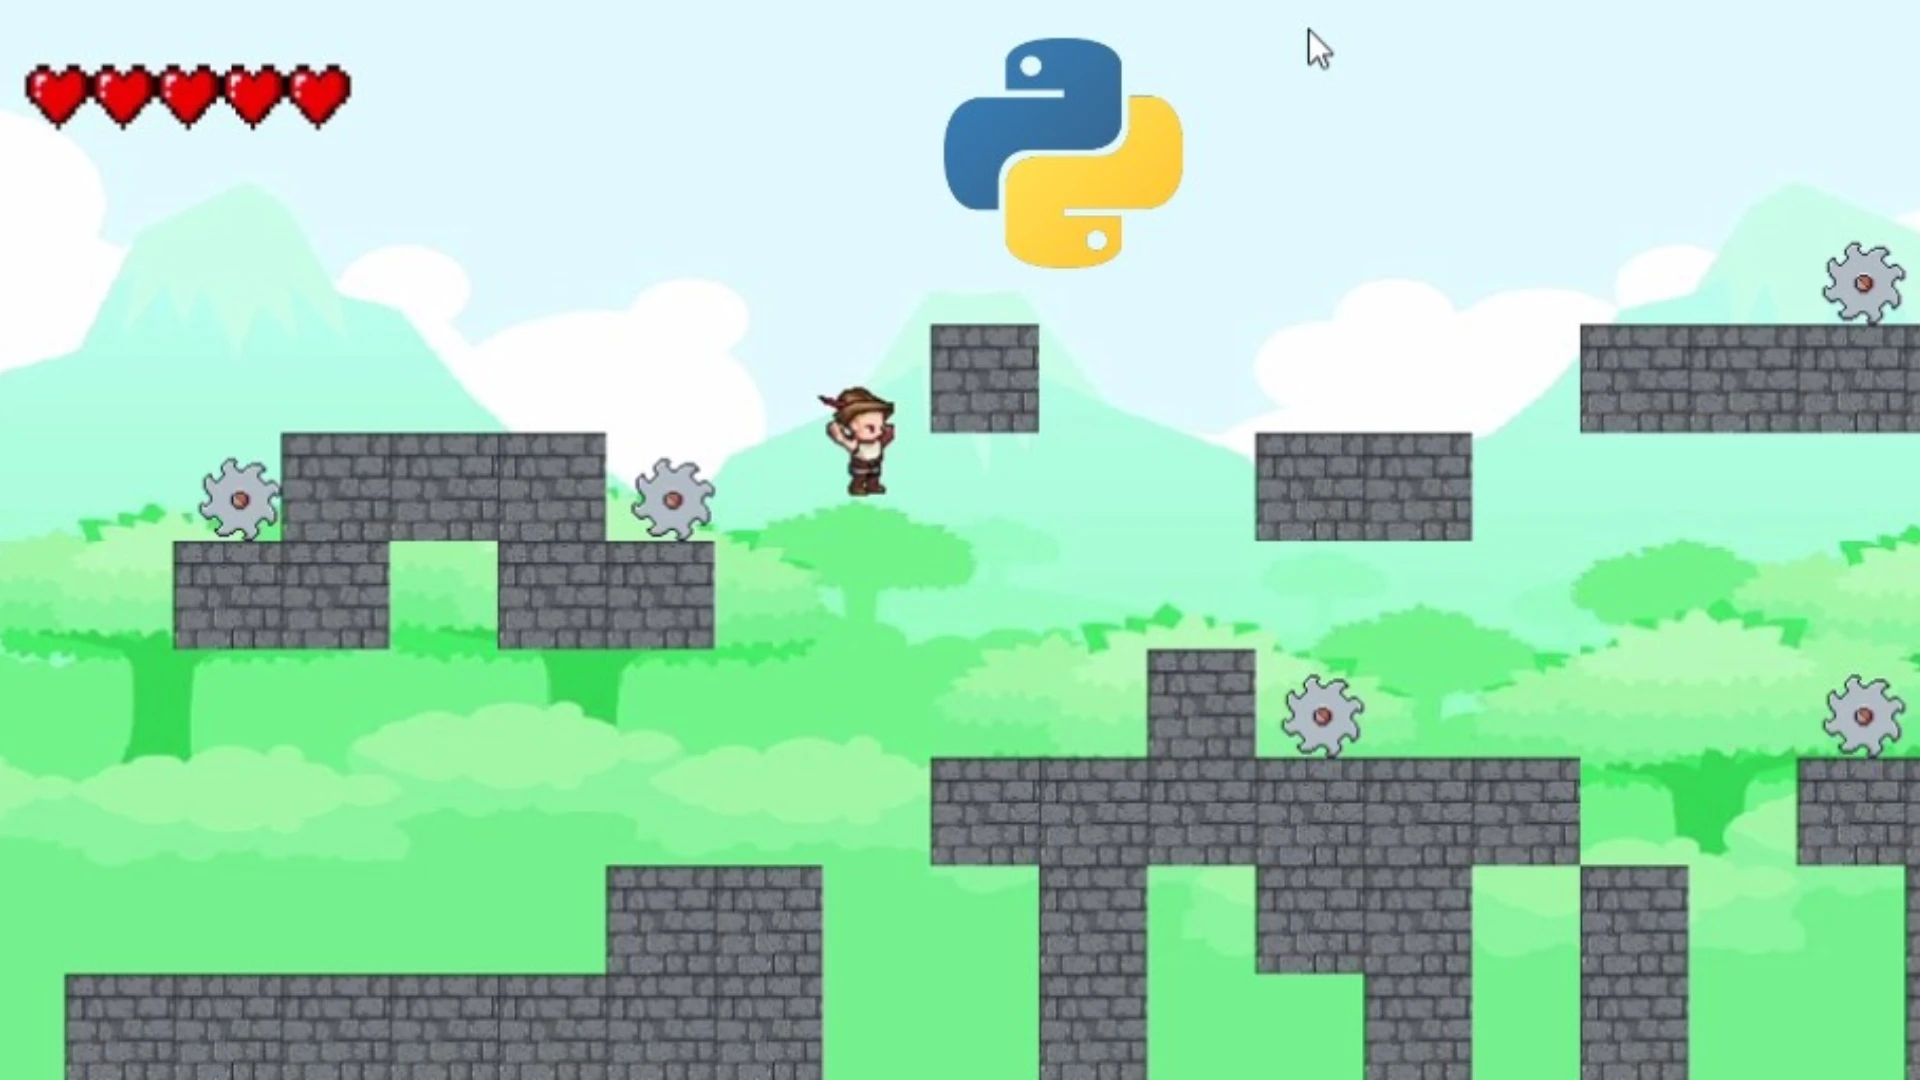
Do you want to make a game but are unsure where to start? Well, good news — Python is one of the best programming languages for beginners, and it’s great for game development companies like RetroStyleGames too!
With Python, you don’t have to worry about complicated syntax or endless setup. You can get started quickly using Pygame, a library that makes it easy to handle graphics, sound, and user input. Whether you want to build a simple 2D platformer, a puzzle game, or even a small RPG, Python gives you the tools to make it happen
In this article, we’ll go step by step through the process — setting up your environment, writing your first game loop, adding graphics, and even handling collisions. By the end, you’ll have a working game and the confidence to build something even bigger. Let’s dive in!

Why Choose Python for Game Development?
Alright, so why use Python for game development when there are so many other engines and languages out there? Simple — it’s easy, flexible, and fun to work with.
First, Python has a super clean and readable syntax, which means you spend less time wrestling with complicated code and more time making your game. If you’re just starting, this is a huge advantage because you can focus on game logic rather than getting lost in technical details.
Second, Python comes with powerful game development libraries like Pygame, Panda3D, and even Godot’s Python API. These tools handle things like rendering graphics, detecting collisions, and playing sounds — so you don’t have to build everything from scratch.
Another big plus? Prototyping is fast. If you have a game idea, Python lets you quickly test it out without spending weeks setting up an engine. This makes it perfect for indie developers and small projects.
Of course, Python isn’t the best for high-end 3D games (that’s where Unreal or Unity come in), but for 2D games, casual games, and learning the basics of game development? It’s an amazing choice.
Setting Up the Development Environment
Before we start building a game, let’s get everything set up. Don’t worry — it’s super simple, many 2D environment art company has already used Python.
1. Install Python
First, you need Python installed on your computer. Head over to the official Python website, download the latest version, and install it. Make sure to check the box that says “Add Python to PATH” during installation — it’ll save you headaches later.
2. Set Up a Virtual Environment (Optional but Recommended)
A virtual environment helps keep your project organized and avoids conflicts with other Python packages on your system. To create one, open a terminal or command prompt and type:
python -m venv my_game_env
Then, activate it:
- Windows: my_game_env\Scripts\activate
- Mac/Linux: source my_game_env/bin/activate
Now, any libraries you install will stay within this environment.
3. Install Pygame
Pygame is the go-to library for 2D game development in Python. To install it, just run:
pip install pygame
That’s it! Now you have everything you need to start coding your game. Next, let’s create a simple game window to make sure everything is working.
Basic Game Structure in Python
Alright, now that we have everything set up, let’s break down how a basic game works in Python. Every game follows a similar structure: initialize, update, and render — all inside a loop.
Here’s the simplest version of a game using Pygame:
import pygame
# Initialize Pygame
pygame.init()
# Set up the game window
WIDTH, HEIGHT = 800, 600
screen = pygame.display.set_mode((WIDTH, HEIGHT))
pygame.display.set_caption("My First Game")
# Define colors
WHITE = (255, 255, 255)
# Game loop
running = True
while running:
for event in pygame.event.get():
if event.type == pygame.QUIT: # Close the game
running = False
# Fill the screen with a color
screen.fill(WHITE)
# Update the display
pygame.display.flip()
# Quit Pygame
pygame.quit()
What’s Happening Here?
- Initialize Pygame – We start by initializing Pygame so we can use its features.
- Create a Game Window – We set up a window that’s 800x600 pixels.
- Game Loop – This is where the magic happens. It keeps the game running, listens for player input, updates the screen, and redraws everything.
- Event Handling – The game listens for events like key presses or clicking the close button.
- Rendering – We fill the screen with a color and update the display to show changes.
This is the backbone of almost every game. From here, we can add characters, movement, collisions, and more. Ready to bring it to life? Let’s go!
Adding Graphics and Sprites
Now that we have a basic game loop running, let’s make things more interesting by adding graphics and sprites. Instead of just filling the screen with a solid color, we’ll load an image and display it on the screen. Pygame makes it super easy to load and display images. First, make sure you have an image file (like `player.png`) in your project folder. Then, update your code like this:
import pygame
# Initialize Pygame
pygame.init()
# Set up the game window
WIDTH, HEIGHT = 800, 600
screen = pygame.display.set_mode((WIDTH, HEIGHT))
pygame.display.set_caption("Adding Sprites")
# Load the image
player_img = pygame.image.load("player.png") # Make sure this file is in your project folder
player_x, player_y = 100, 100 # Starting position
# Game loop
running = True
while running:
for event in pygame.event.get():
if event.type == pygame.QUIT:
running = False
# Fill the screen with a background color
screen.fill((255, 255, 255))
# Draw the player image on the screen
screen.blit(player_img, (player_x, player_y))
# Update the display
pygame.display.flip()
# Quit Pygame
pygame.quit()
What’s Happening Here?
- Loading the Image – We use pygame.image.load("player.png") to load a sprite from a file.
- Drawing the Image – screen.blit(player_img, (x, y)) places the image at the given coordinates.
- Refreshing the Screen – The game loop updates the screen each frame to reflect any changes.
Now you have a sprite on the screen! Next, we can animate it by moving it around when you press a key. Ready to bring it to life? Let’s go!
Implementing Game Logic
Now that we have a sprite on the screen, let’s make it move! Game logic is what makes a game interactive — things like movement, collisions, and score tracking. Let’s start simply by moving our character with the arrow keys. We’ll modify our game loop to listen for key presses and move the player sprite accordingly.
import pygame
# Initialize Pygame
pygame.init()
# Set up the game window
WIDTH, HEIGHT = 800, 600
screen = pygame.display.set_mode((WIDTH, HEIGHT))
pygame.display.set_caption("Game Logic Example")
# Load the player image
player_img = pygame.image.load("player.png")
player_x, player_y = 100, 100
speed = 5 # Movement speed
# Game loop
running = True
while running:
for event in pygame.event.get():
if event.type == pygame.QUIT:
running = False
# Get keys that are currently pressed
keys = pygame.key.get_pressed()
if keys[pygame.K_LEFT]:
player_x -= speed # Move left
if keys[pygame.K_RIGHT]:
player_x += speed # Move right
if keys[pygame.K_UP]:
player_y -= speed # Move up
if keys[pygame.K_DOWN]:
player_y += speed # Move down
# Fill the screen and redraw player
screen.fill((255, 255, 255))
screen.blit(player_img, (player_x, player_y))
pygame.display.flip()
# Quit Pygame
pygame.quit()
What’s Happening Here?
- Checking for Key Presses – pygame.key.get_pressed() detects which keys are held down.
- Updating Position – The player’s x and y coordinates change when an arrow key is pressed.
- Redrawing the Screen – In each frame, we clear the screen and redraw the player at its new position.
Now, your character moves when you press the arrow keys! Next, we can add boundaries to prevent it from going off-screen or even implement collisions.
Optimizing and Expanding the Game
Now that we have a basic game running, let’s talk about optimization and expansion—making it run smoothly and adding new features. Even simple games can slow down if they’re not optimized. Here’s how to keep things running efficiently:
- Limit the frame rate – Instead of running as fast as possible, cap the FPS to save resources:
clock = pygame.time.Clock()
while running:
clock.tick(60) # Limits the game to 60 FPS
- Only update what’s necessary – Instead of redrawing the entire screen, only update the parts that change.
Once your game is running smoothly, it’s time to add more depth! Here are some ideas:
- Collisions – Make objects interact with each other (like a player collecting coins or avoiding obstacles)
- Sound Effects and Music – Add background music and sound effects using pygame.mixer
- Levels and Scoring – Track progress, increase difficulty, or add multiple levels
- AI Opponents – Add enemies that move on their own or react to the player’s actions
With these improvements, your game will not only run better but also be easier to expand. What’s next? Maybe multiplayer, more animations, or even turning it into a full-fledged project. Keep experimenting and have fun!
Conclusion
And there you have it! We just walked through the basic structure of a game in Python, from setting up the environment to adding graphics, handling movement, implementing game logic, and even optimizing the code.
At this point, you have a solid foundation to start building your own games. Want to add enemies? Go for it. Thinking about sound effects or animations? Possible. The best way to learn is by experimenting, breaking things, and figuring out how to fix them.
Python might not be the go-to language for high-end 3D games, but for 2D games, prototypes, and learning the basics of game development, it’s an awesome choice. So keep coding, keep improving, and most importantly — have fun!


